The following describes how I converted my old 160 cm Burton Custom into a splitter for backcountry use. The first step was to cut the board in half with a circular saw. Measure twice, cut once as the saying goes. Cutting through an old Burton requires not only cutting through wood, but also the metal inserts due to the three-hole design. Easy does it with the saw.
I then applied a few layers of two part epoxy to the exposed wood core and exposed inserts. Each layer takes about a day to dry. I used 655-K West Systems Epoxy and found it to be very good. My next step was to mount the hooks. I taped the two board halves together along the entire board, with some tape running across the board in three or four places as well. The Voile templates I used worked fine, and I was able to mount the hooks in place easily, after center punching the holes and drilling with a 3/16″ bit. I did epoxy the holes after drilling to ensure water would not enter the core.
Next, I mounted the touring brackets on each board half. First, find the center of the board by the balance test, and then apply the Voile sticker template. After center punching the sticker holes, I drilled the 1/4 inch holes through the board and followed up by using a 3/4 countersink wood bit through the base and just into the core. I went into the core about 1/8 inch so I could use metal p-tex to fill the holes. I coated each hole in epoxy and then pounded the t-nuts into place. Repeat for the other board half.
I followed the same procedure for the heel lifters (different drill bit), though in hindsight I think I could have got by without using the t-nuts and just used wood screws, as there isn’t a lot of stress on the heel lifters. This would have resulted in a few less holes in my base that needed patching. Here’s a shot of a base patch:
Tip clips were next, and these went on pretty easily. The template worked fine and I used a hammer and the Voile pins to flare out the metal on the base side. Next, I went to work mounting the bindings. This proved to be the most difficult part for me. I opted to use t-nuts and screws instead of the wood screws as I figured this will be a more bomber setup. I used the Voile templates and made a slight adjustment for my rear foot since I ride a slight duck stance. I ended up having my slider pucks slightly offset from my drilled holes.
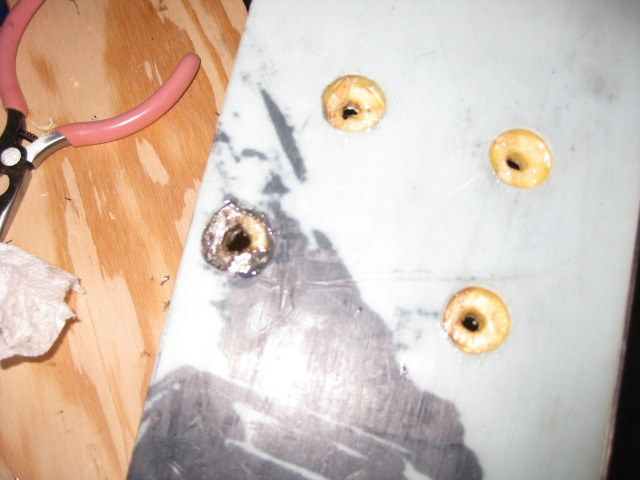
In hindsight, I definitely would have spent the extra $$$ on the factory pucks (this would allow some adjustability and two holes in your base per puck instead of 4). For my bindings, I used 1/4 x 5/8 inch flat head screws and 1/4 inch t-nuts. This seemed to work well. With Burton’s hole pattern, I ended up hitting metal in a few places. I was able to drill some of it out, but not all and again think some of this could have been avoided with the use of factory pucks. You can see the metal in the lower left hole in the below picture:
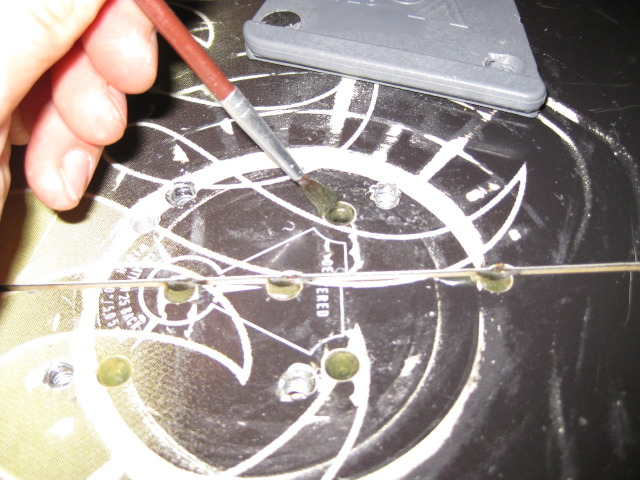
Again, I coated the holes with epoxy:
I wasn’t able to utilize any of the existing holes to get my stance setup the way I wanted, so I just drilled 4 holes per puck, which meant more patching. I filled the factory holes with epoxy:
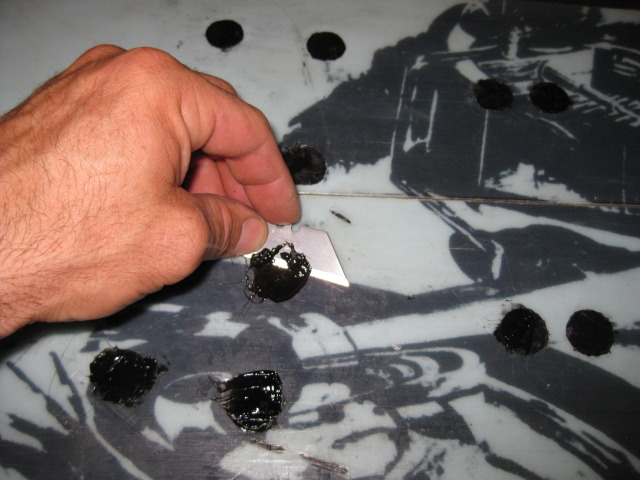
For the few holes with a little metal, I cut off one sharp corner of the t-nut and positioned the nut in the hole and pounded away. Then, instead of metal p-tex, I used epoxy mixed with some black epoxy pigment to get the black color to match the other holes. A sharp razor let me get the filled holes flush with the base:
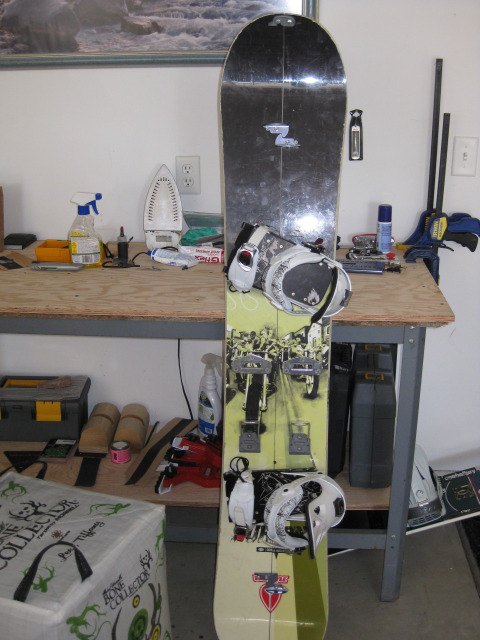
I had to drill out the Voile pucks a little bit to get the puck holes to line up with the t-nut holes, but then had a hell of a time getting the bindings mounted. I finally figured out I had to shim and sand the pucks. I used some of the old rubber from my Voile slider tracks under the pucks for a shim. This allowed me to mount the bindings. Here’s a shot of the finished board top and base:
Finally, I mounted my Sparks and am mostly finished. I still need to apply a little more epoxy to a few spots and wax the base before I’m ready to go.
Tognar Toolworks had all the materials I needed for my project except the epoxy. Here’s the website:


