The second split I made was from one of my favorite powder riding boards – a 164cm Joni Makinen Option. As with the Burton Custom I’d split previously, the first thing I did was locate the center of the board (on the base side) and mark it with a marker. I made several measurements and marked the base with dots and connected them into a straight line when I was done. Next, I made sure to tape the middle of the board along the top sheet with two-inch masking tape so that the laminated top sheet would cut cleanly and not crack. To start my cut, I placed the board in a vice and used a hacksaw to cut the board ends and metal edges for the first inch. This ensures that the metal edges don’t blow out when you cut with the circular saw. To make the final cut, I put the board on my work bench and mounted my straight edge to it to get a straight cut. I first practiced on a 2 x 4 (and the beater board) to make sure the distance was accurate. Here’s the board post cut:
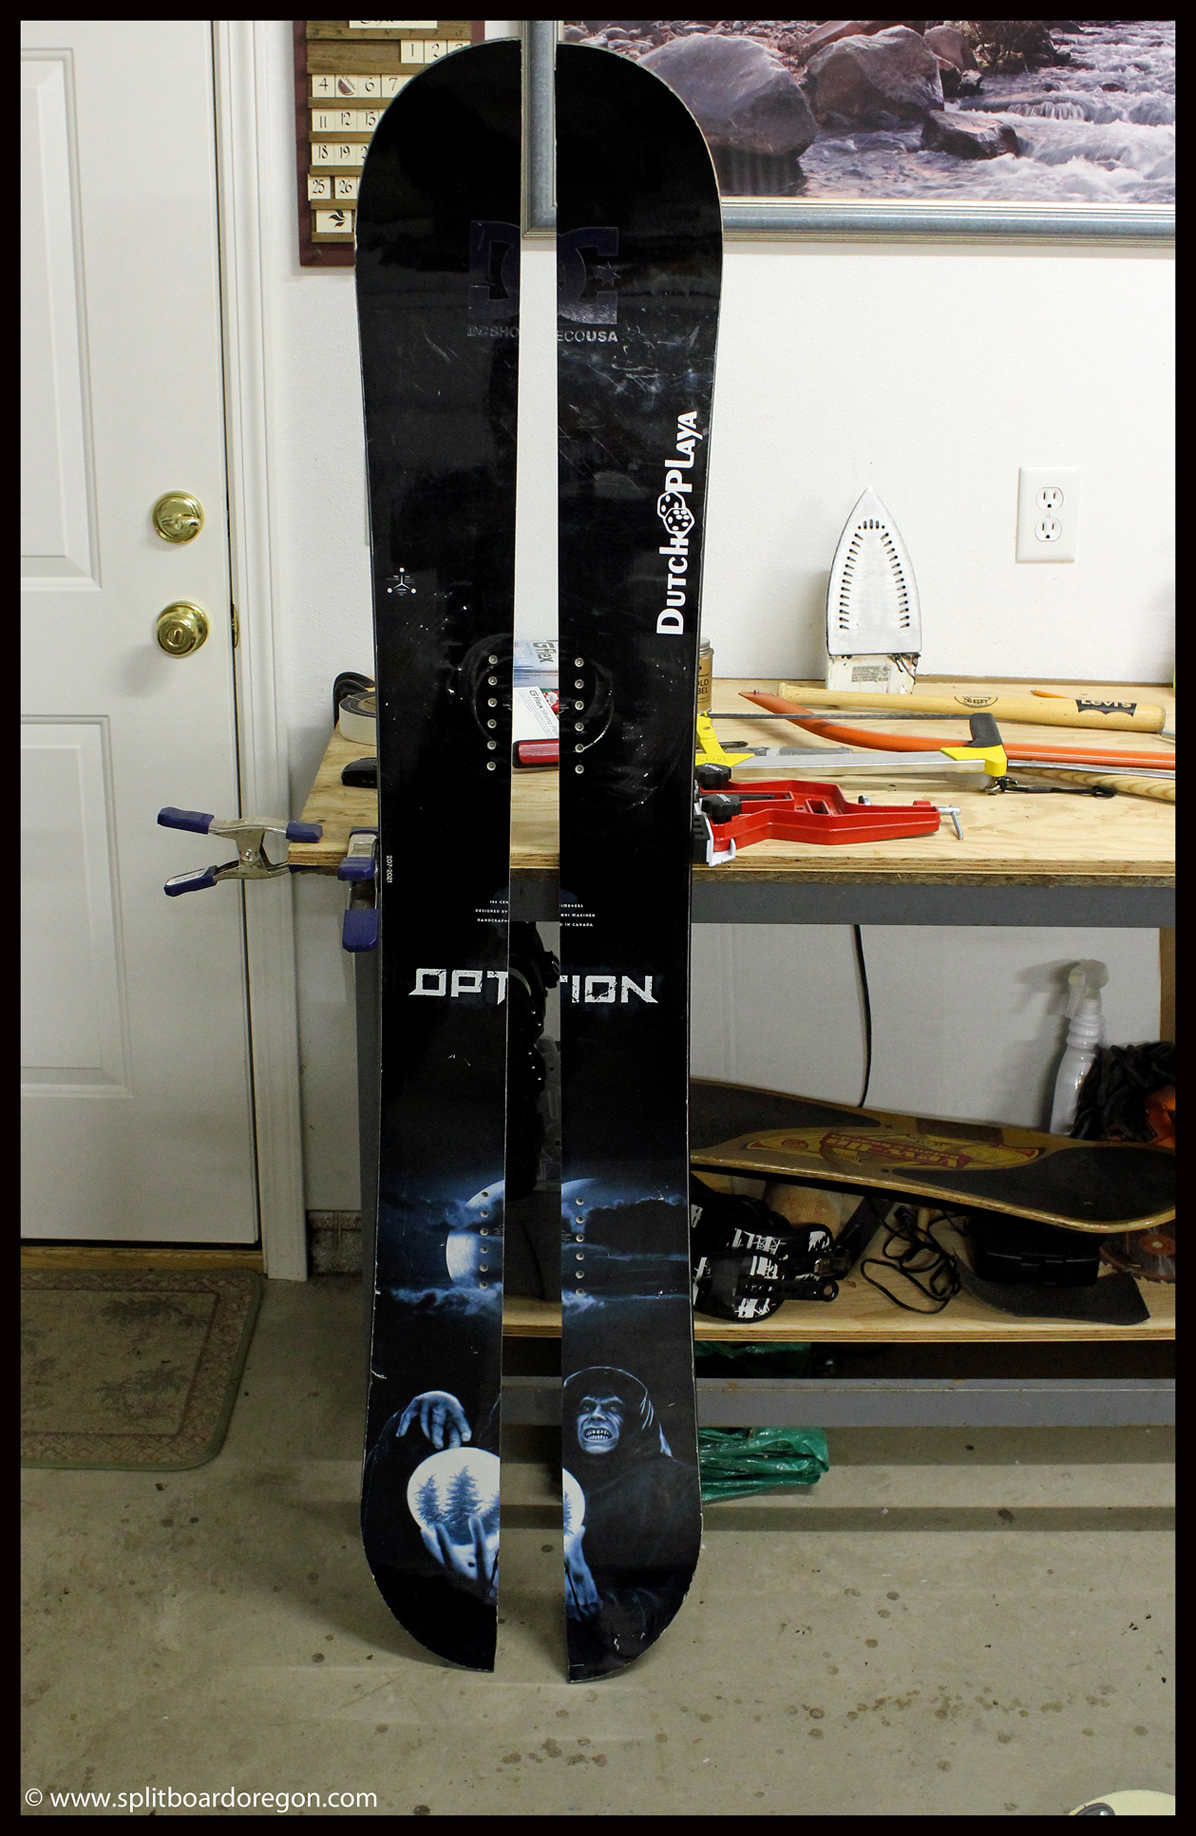
Given my affinity for riding the board in powder, I decided to turn it into a swallowtail split. I used a jigsaw to cut out a portion of the tail to make it a mini swallow. This was rather easy, but I wouldn’t want to use a jigsaw for a bigger cut. I sanded the cut edges with some fine grit sand paper and then set to work on the rest of the project.
After cutting the board, the next step was to drill the holes for the split hooks. I chose to use Karakoram clips on the Makinen. First, I drilled through the board using the Voile template from the split kit, then finished the holes by using a wood paddle bit on the base for the screws. To prep the board for drilling, I used the Voile sticker and some masking tape, which held the two halves in place nicely. Remember to center punch the holes prior to drilling…..
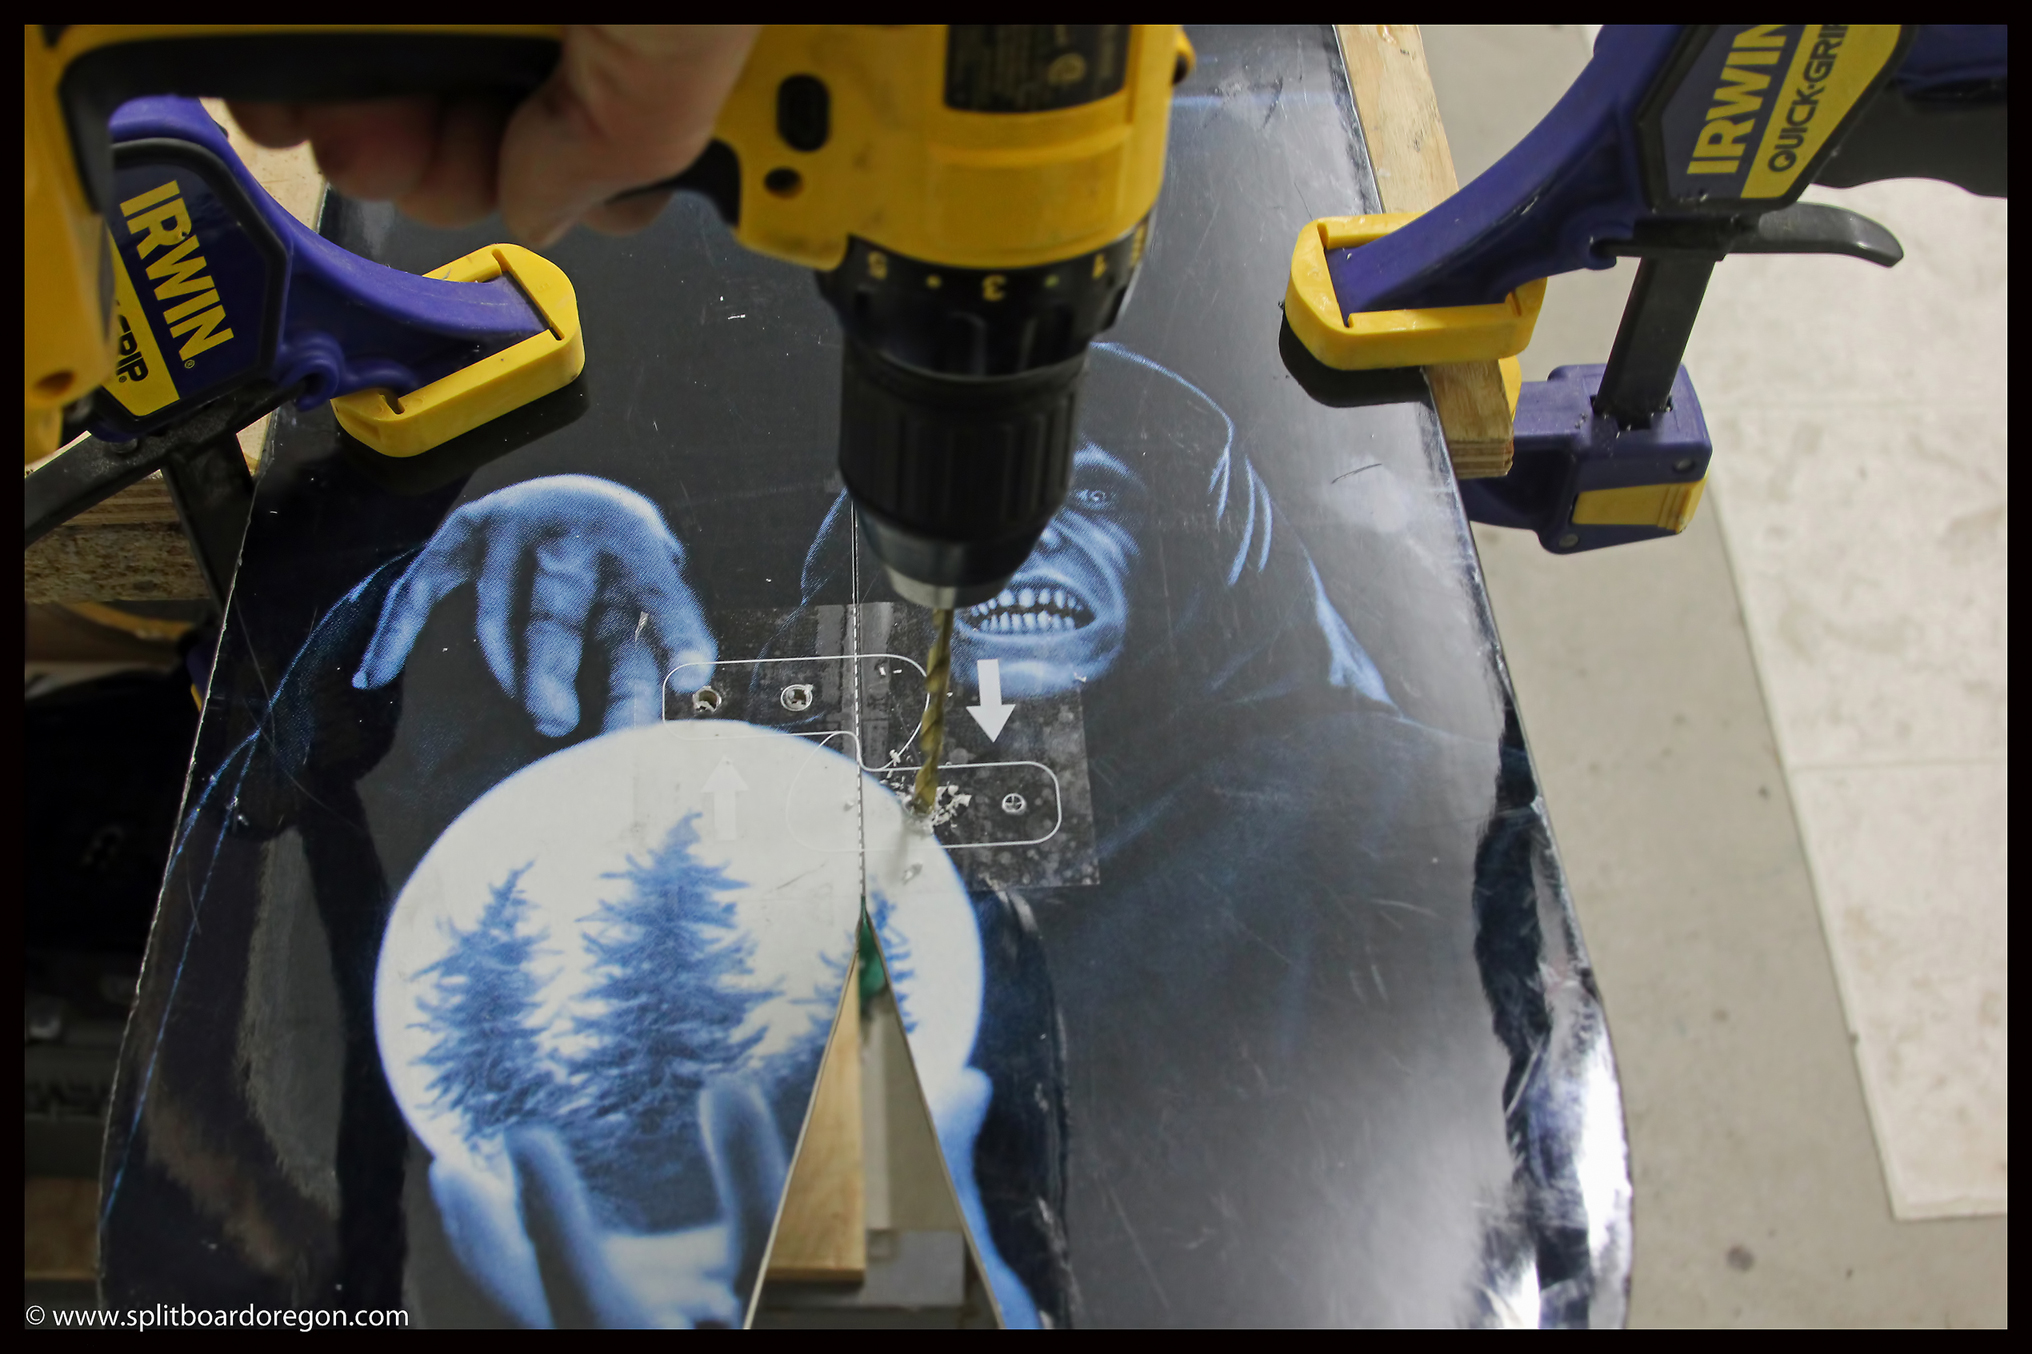
The below picture shows the base of the board after drilling with the 3/8″ paddle bit and drill that I used. After drilling, I removed the excess base material along the holes with a razor blade to ensure a clean hole.
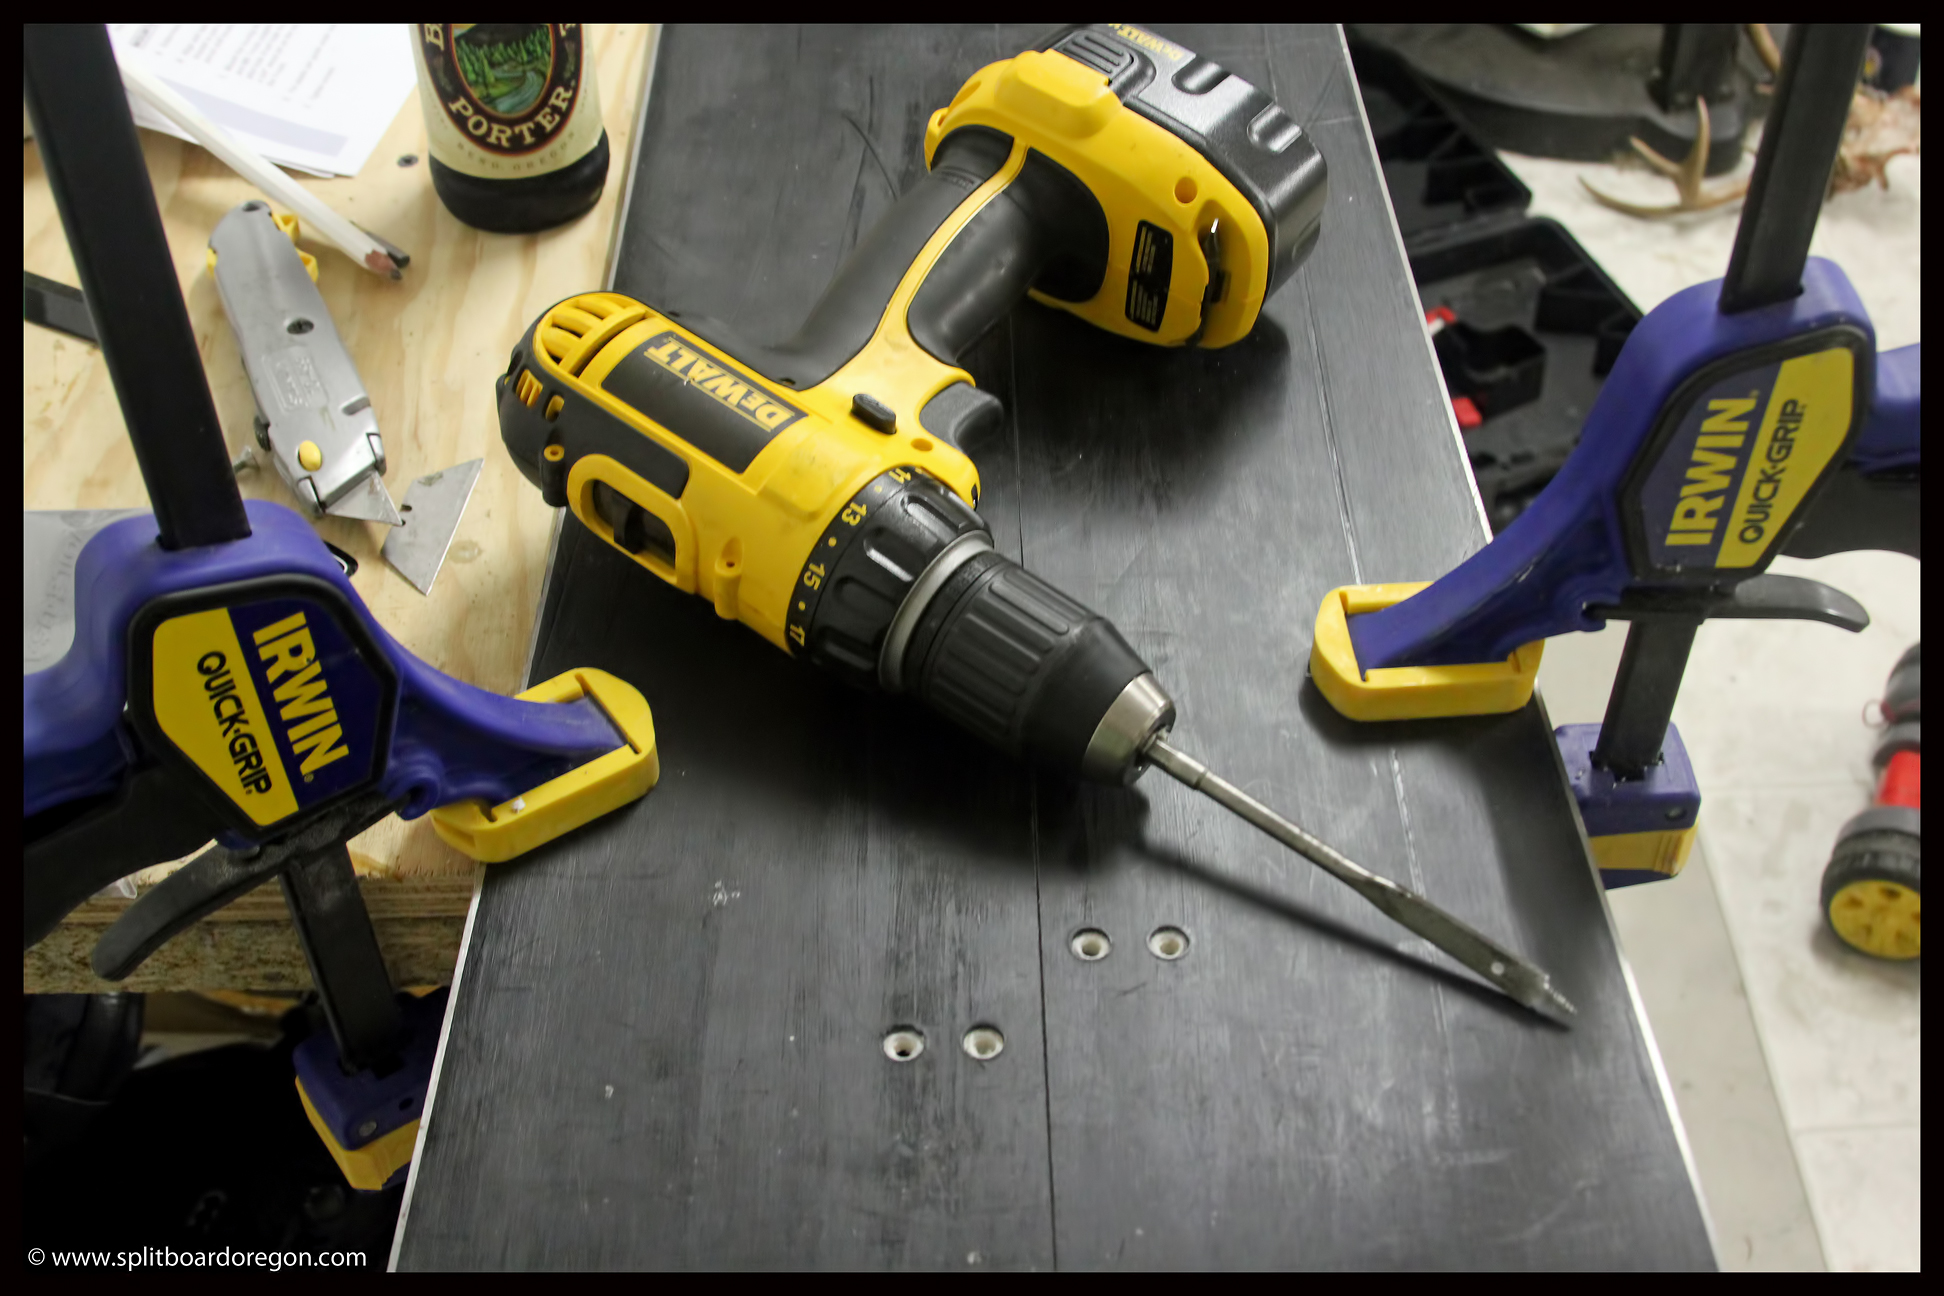
Next, I drilled the holes for the touring brackets and heel lifters, again using the templates from Voile. These were easily applied to the board with masking tape. It’s important to find the center point of the board and place the touring bracket just ahead of that. I drilled a pilot hole with a 1/8″ bit, and then completed the holes with a 19/64″ bit.
Counter sinking the holes on the base of the board was the next step, which allows for placement of the t-nuts. I used a 3/4 inch wood paddle bit to drill through the base material until I came to wood core. Once the base material was removed, I drilled slowly into the wood core so as to not remove too much material. You’ll need to go slowly at first until you get the hang of it. This is where a practice board comes in handy to help you get the hang of drilling. Test the depth of the hole by placing a t-nut into it. You’ll want the t-nut to be about 1/8 of an inch below the base of the board so you can fill the hole with p-tex and cover the t-nut. Again, any excess base material can be removed with a razor blade. Drilling on your board is one of the funnest parts about making a splitboard, and gets material all over the place…
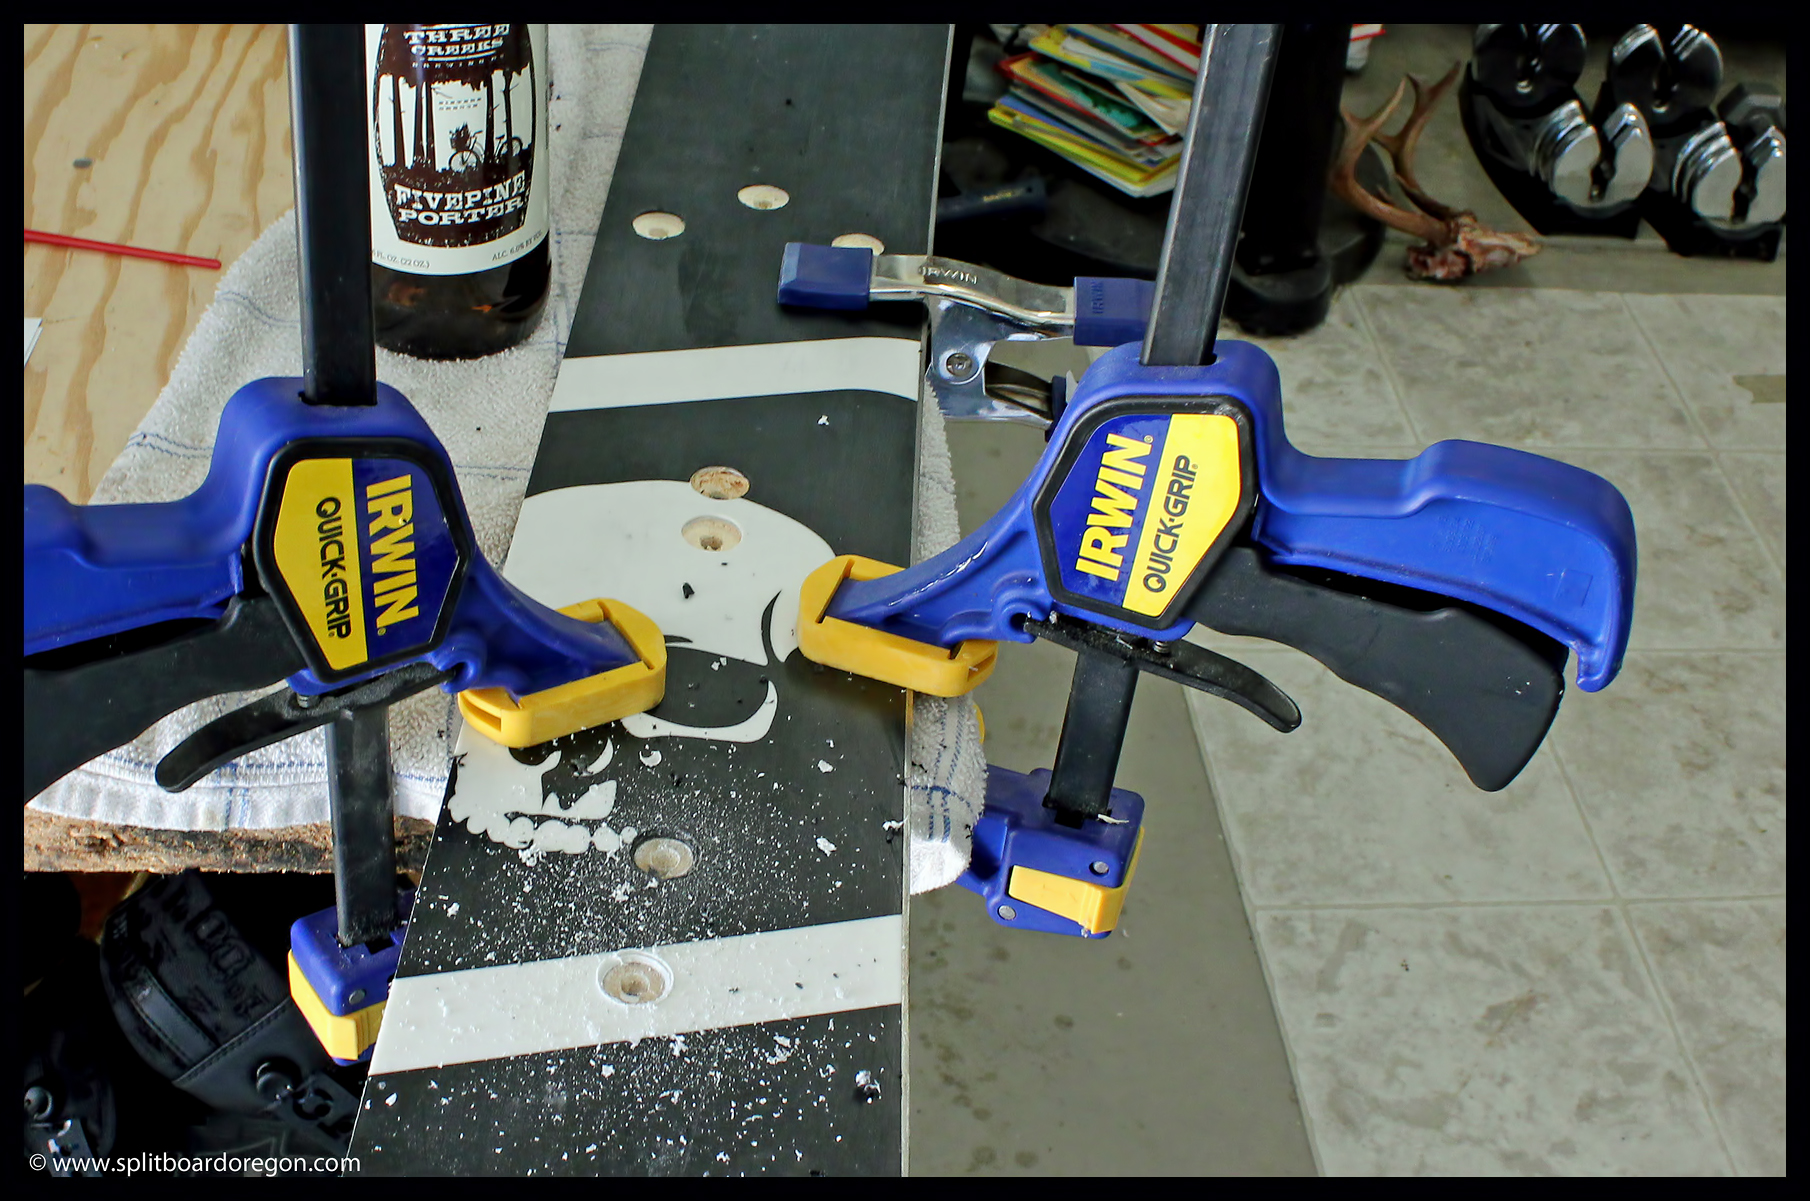
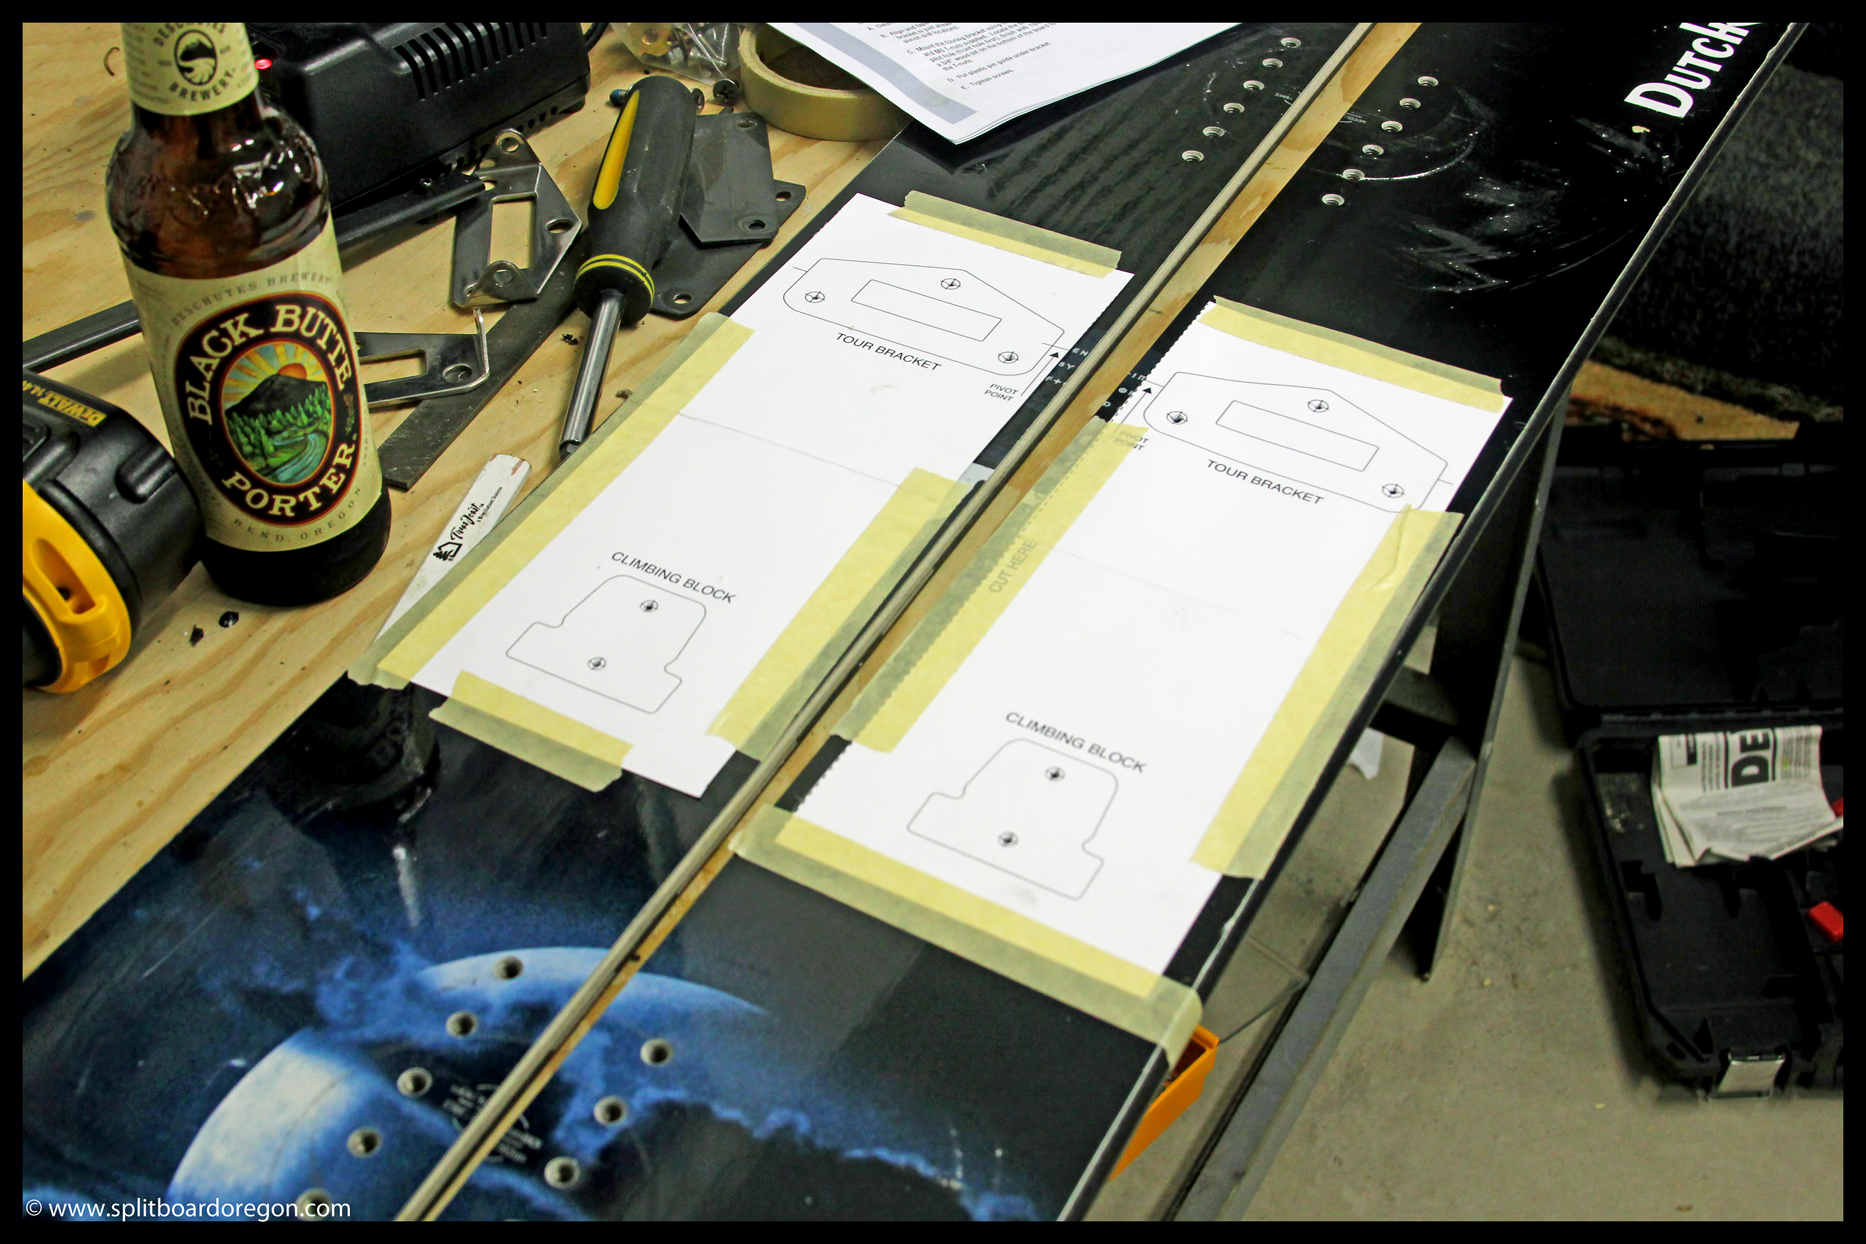
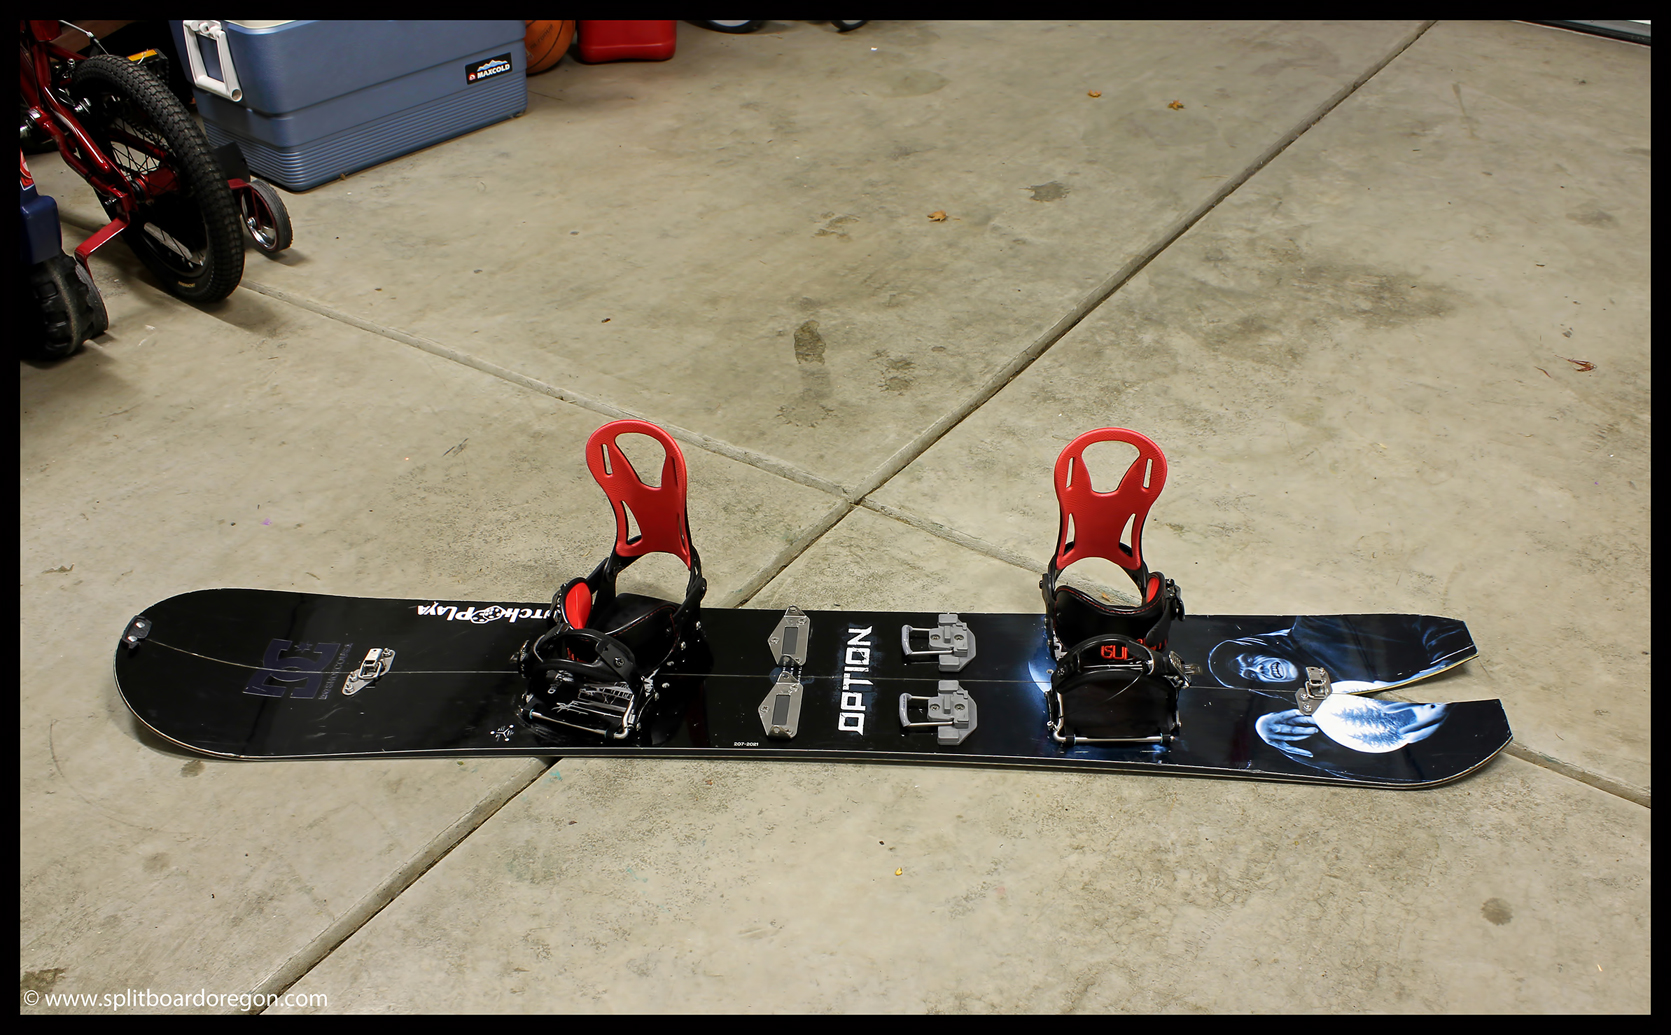
After drilling for the touring bracket and heel lifters, the next step was to align the pucks for your binding stance. I ride goofy and with a duck stance, so I used the template stickers from Voile, placing the rear foot on the regular side to account for my duck stance. The new Voile pucks have 2 holes per puck, compared to 4 holes for the old pucks, which makes for less holes in your board – always a good thing. Counter sinking the holes on the base of the board proved much easier then when I did the same thing on my DIY Burton Custom, as the regular hole pattern on the Option didn’t interfere with the t-nuts, so I didn’t have to drill out any metal inserts. After all the holes were drilled out, I used 655-K West Systems two part epoxy to coat the exposed wood before hammering the t-nuts into place. Here’s a shot of the board with the t-nuts installed on one ski…
Once the t-nuts were in, I mounted the Voile pucks on each ski, then put my Spark Blazes on the board to see how they fit. The fit was near perfect, though I had to sand one of the pucks just a bit for the pin to fit smoothly. I also mounted the heel lifters and touring brackets using the screws and hardware provided from Voile. Though I center punched all my holes and drilled straight, one of the holes on the touring bracket was offset by about 1/8 inch. This was enough that I couldn’t mount my Spark LT brackets, but I had no problems with the regular Voile touring brackets. The holes on the Spark LT brackets are quite small, as everything is machined down to the minimum to ensure the utmost in weight savings. No worries, I’ll use the LT’s on my factory board and other DIY, and the Voile’s will be more than capable on this board. If I split another board however, I’ll definitely pay a bit more attention to this if I plan on using LT brackets. Here’s a shot of my board with all the holes in the base…
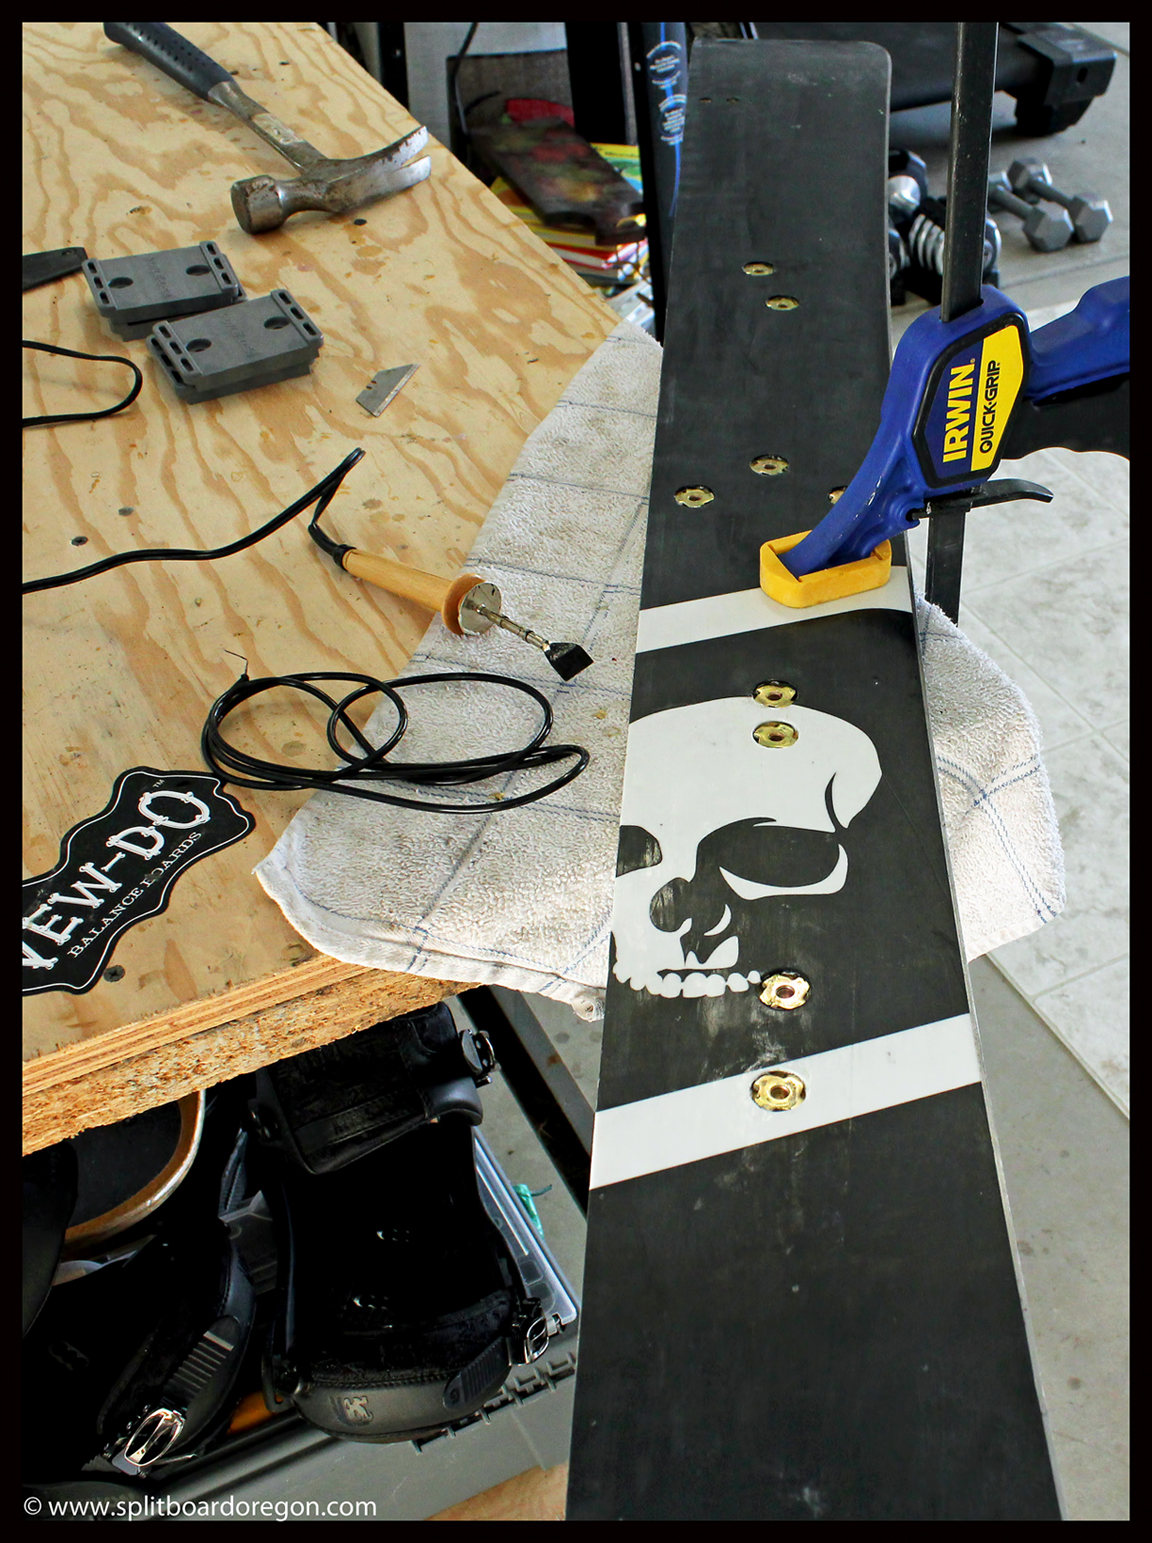
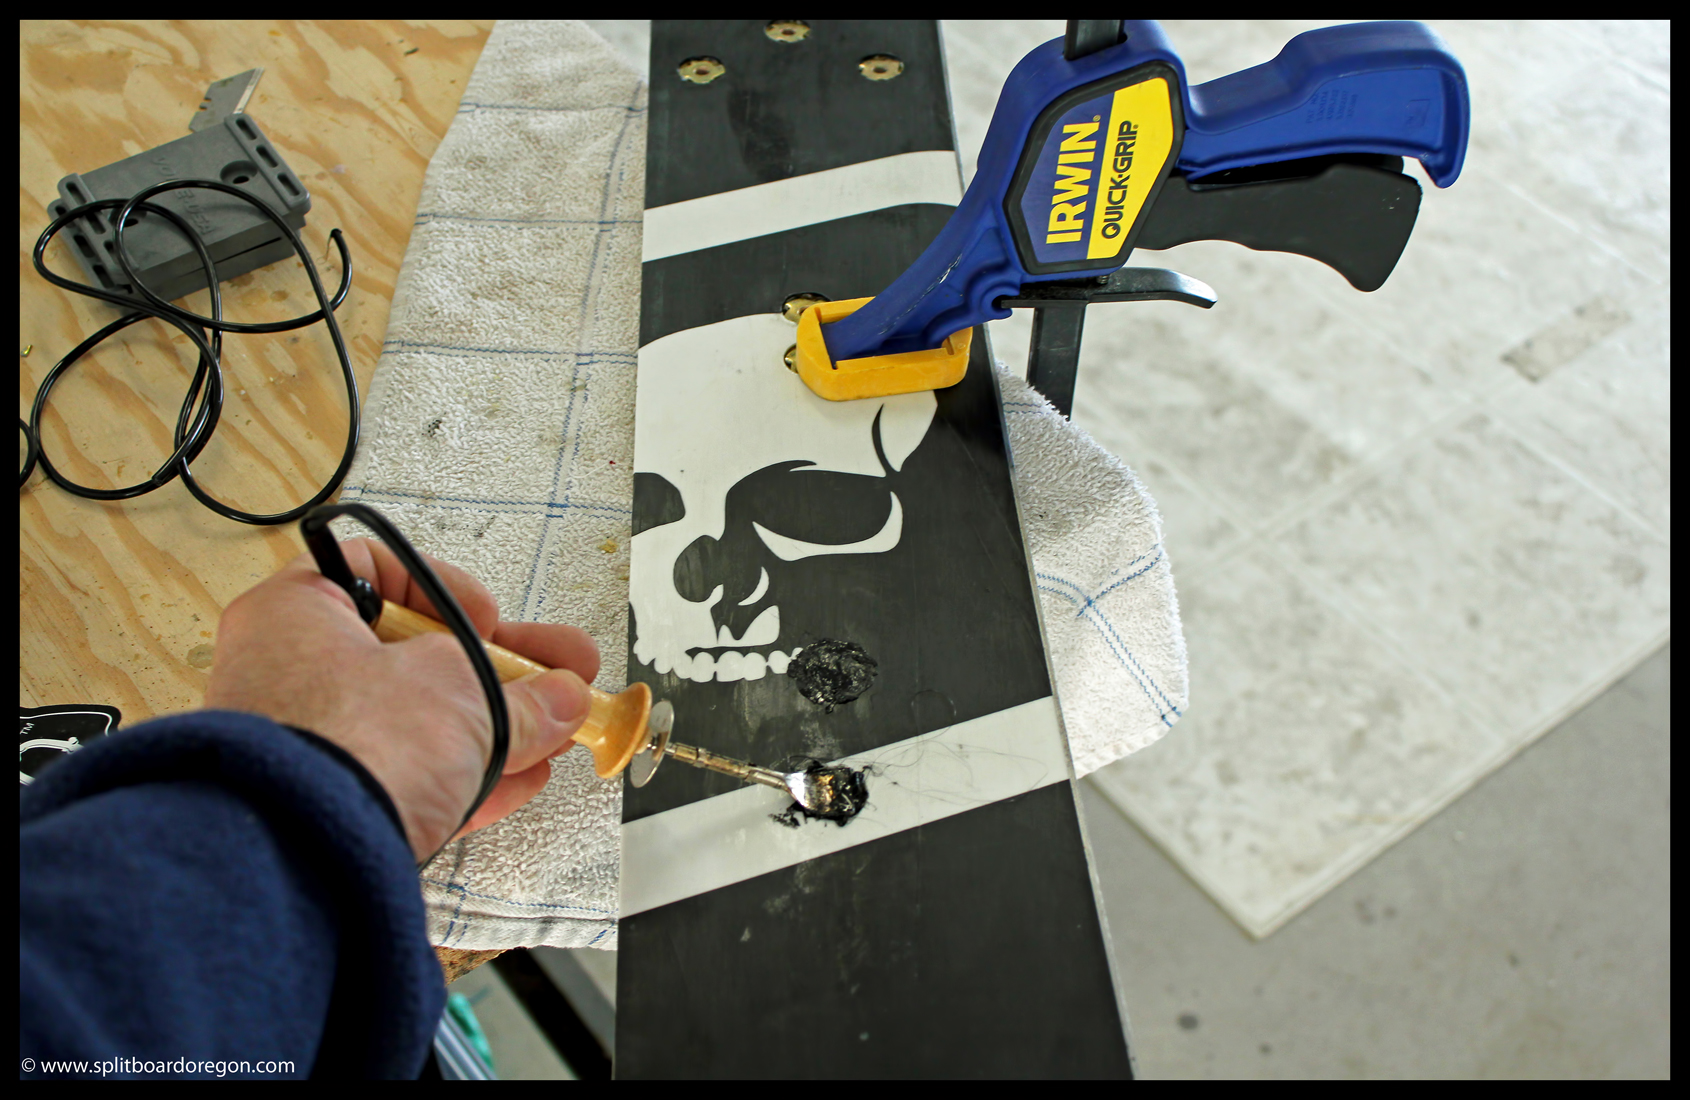
Next up, I drilled the holes for the Karakoram tip clips on the nose. With the swallow, I didn’t need clips at the tail. I used a screw driver and hammer to roll the rivet which was a major PITA. There must be a better way to do this. It ended up working for me, but just took awhile. I’d think this would be the most trivial part of building a split, but it ended up being the most challenging for me. When that task was complete, I filled in all the base holes with metal p-tex using a heat iron. The excess was easy to scrape away with a razor blade, and for a finishing touch, I melted regular p-tex over the hole and scraped it with the razor. Tognar Toolworks had all the tools I needed for the base repair on this job. Note: be sure to add the p-tex after you mount the hardware, or you’ll end up redoing several of the holes like I did. Here’s a shot of how I patched the base with the heat iron an metal binding p-tex…
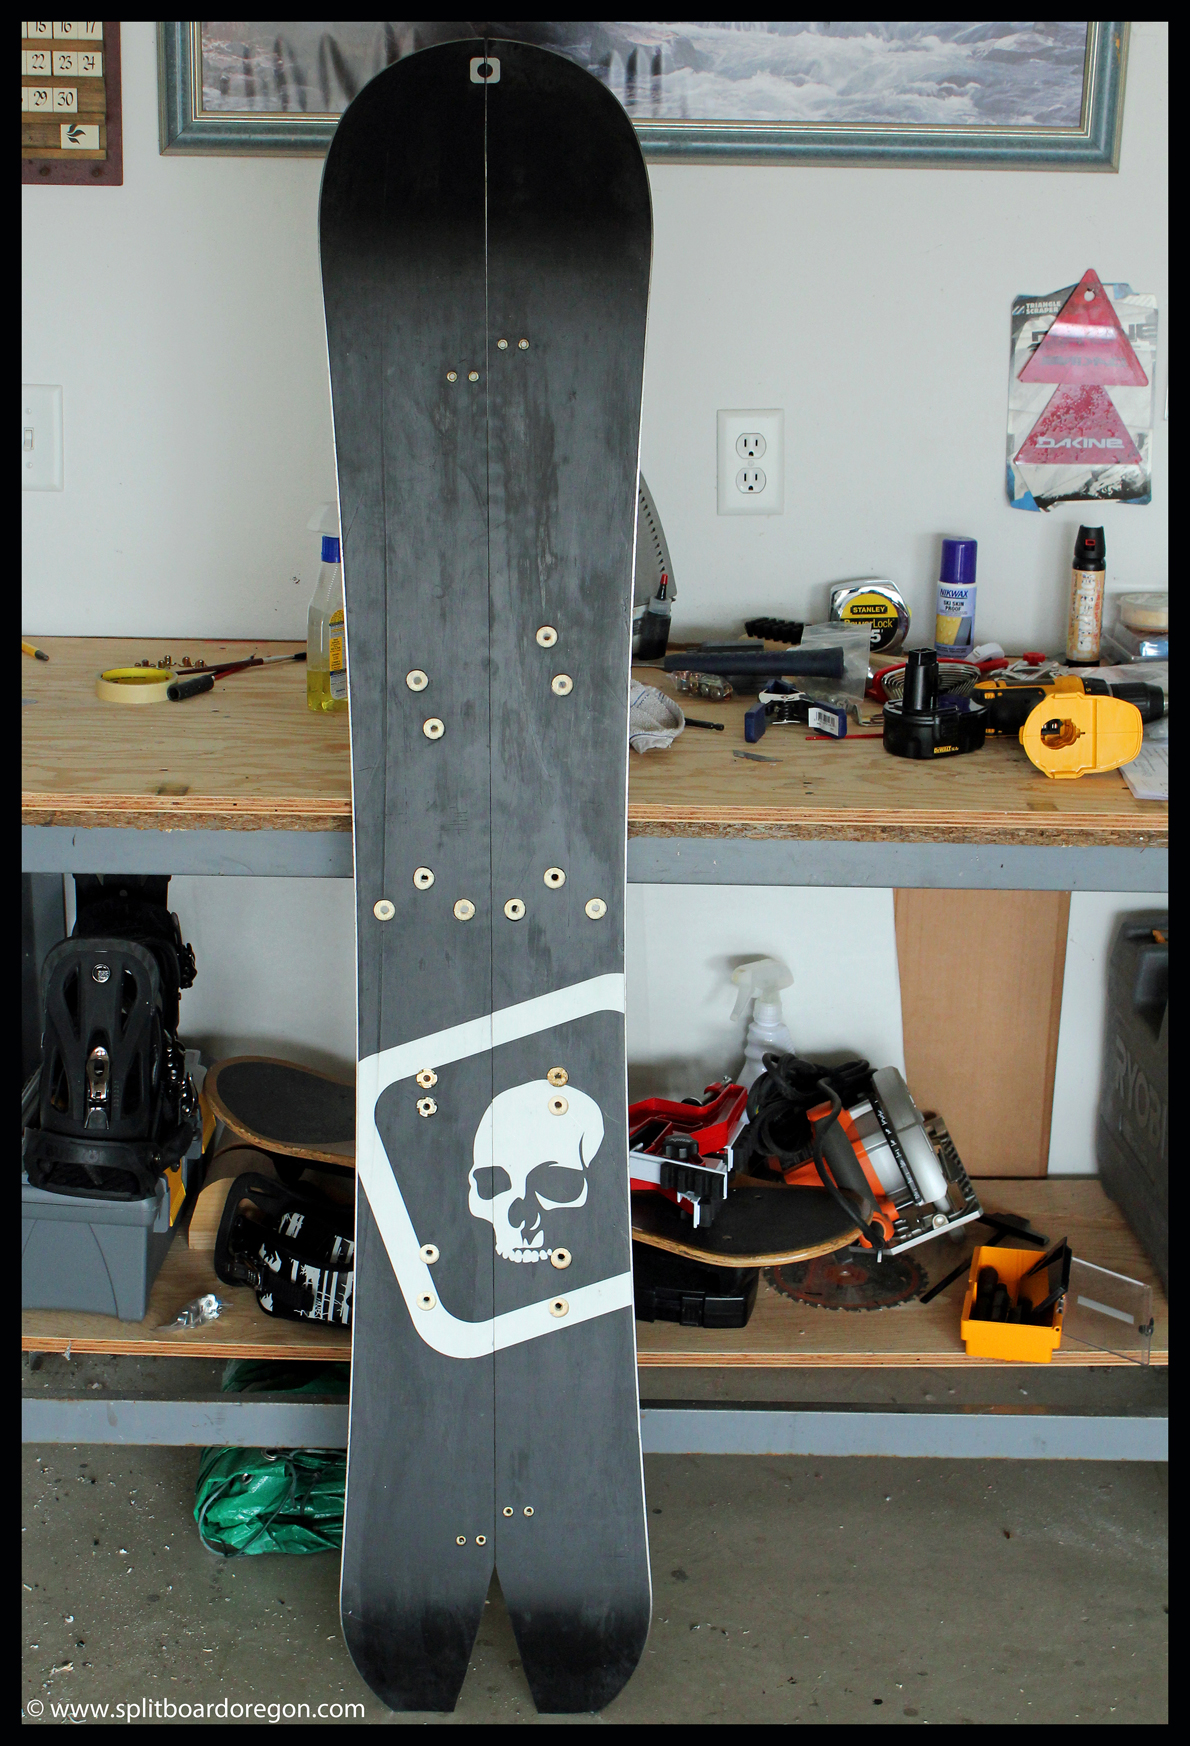
After the base repairs were complete, I applied epoxy to the cut edge (inside edge) to seal the wood core from moisture, using the same mix as for the base. Placing tape along the base of the board allowed any excess epoxy to collect on the tape. Lastly, I added the Karakoram board clips to complete the project. Most people add these first, but I just used masking tape when needed during the construction process, and added the clips at the end (I did check my drill job though initially to make sure all was well). Finally, I cleaned the base with a citrus solution, waxed it up, added the Spark Burners, and it’s ready to ride! Here’s a pic of the board complete again…
And of course, I took a few photos of the board in tour mode….

Tognar Toolworks had all the materials I needed for my project except the epoxy. Here’s the website: