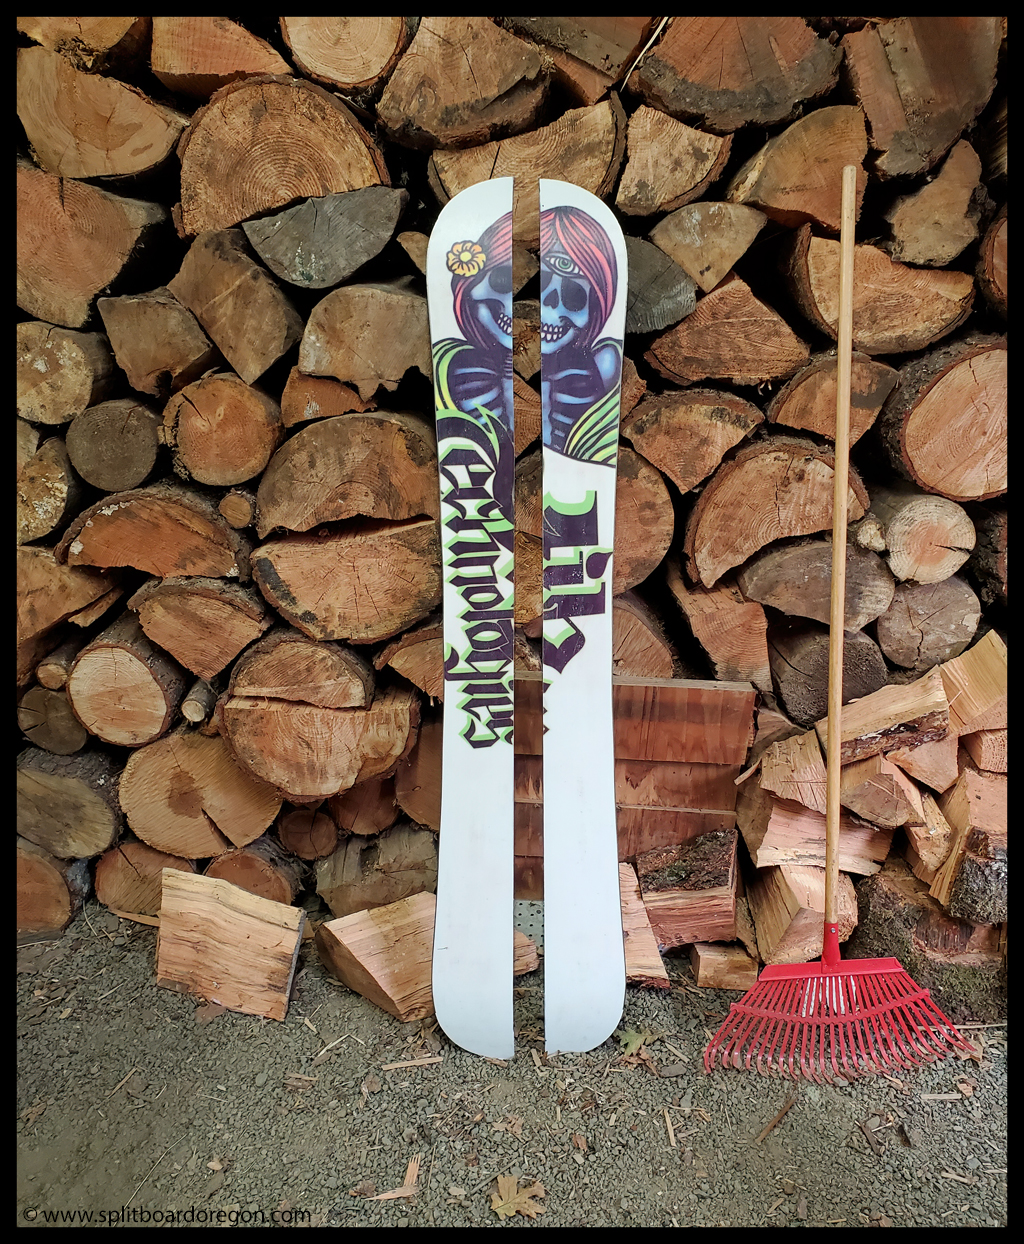
After several years of abusing my first Lib Tech Jamie Lynn splitter, it was time to move it to rock board status and make another one,if for nothing else than I find the art of turning a solid board into a splitboard rather fun. Like my previous Lib split, after spending the past couple of years using the board for ski patrol, it was a good time to turn it into a splitter. I find Jamie’s board to work really well in most conditions, and for that reason they make good homemade splitboards. A project like this can take as little as a day or so to complete if you get after it, but I like to work on them over the course of a few weeks as time allows. Below is a picture of the board before cutting it.

Although one can get pretty involved with precision tools to cut a splitboard, I find using a straight edge and a circular saw to work just fine. I like to make sure I measure and mark the center of the board in multiple places, and then connect the dots using a straight edge and a sharpie marker. Before using the circular saw, one thing I find helpful is to cut the first couple centimeters along the line from the nose and tail with a hack saw, which helps to keep the board from splintering at the ends during the cut. Then, after carefully placing the straight edge on the board with clamps, it’s ready to cut. Slow and easy does it…

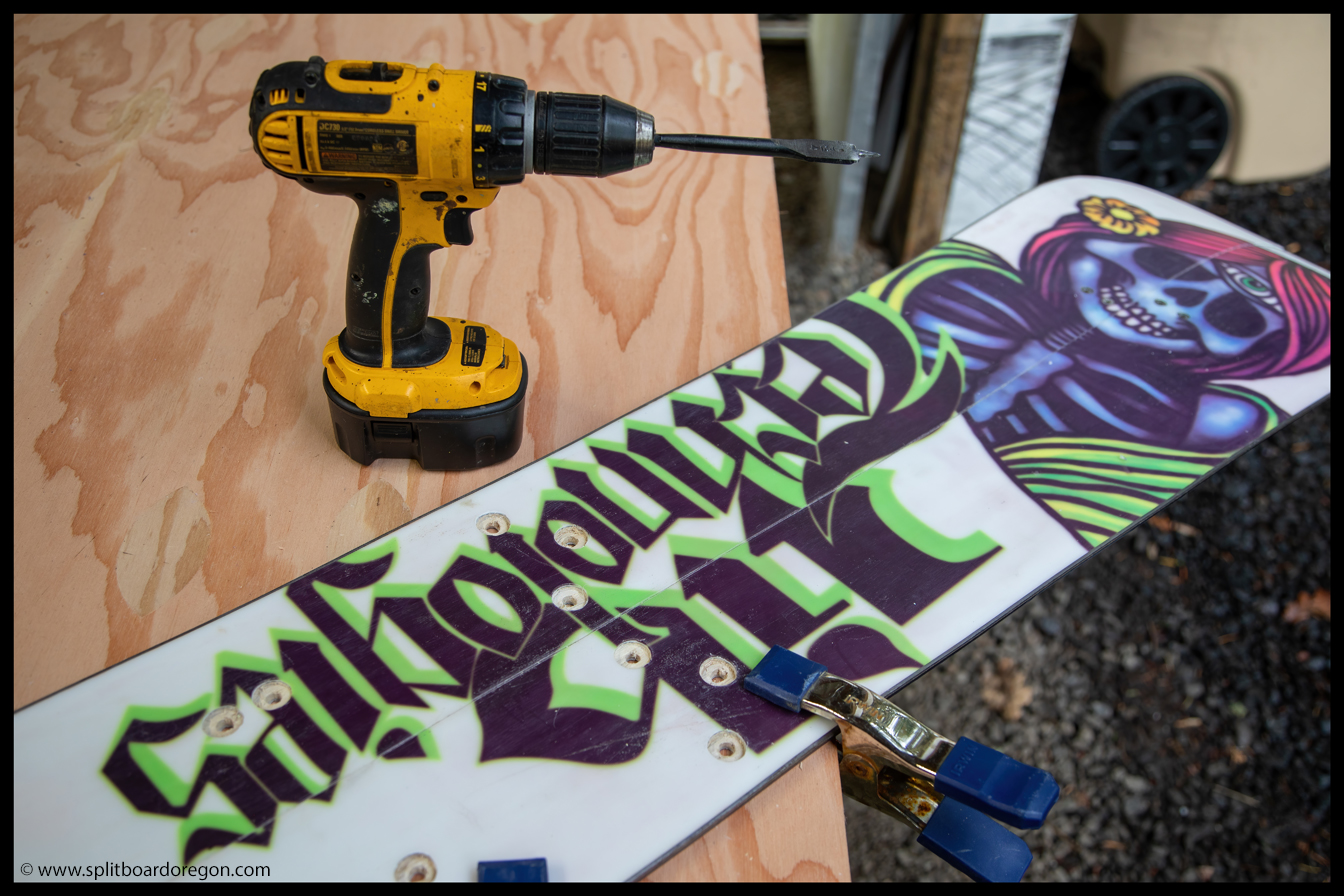
Following the cut, the next step for me is to tape the board halves back together with masking tape, and then measure from the tip and tail to drill for the split hooks. After measuring, I apply the split hook templates and center punch where the holes need to be drilled, followed by the actual drilling. After drilling, it’s time to counter drill just the right amount from the base in order to set the screws so that they are flush with the base (or just a little beyond flush). A little bit of epoxy goes in the holes next to keep the wood from getting wet during use, and then the split hooks can be installed.
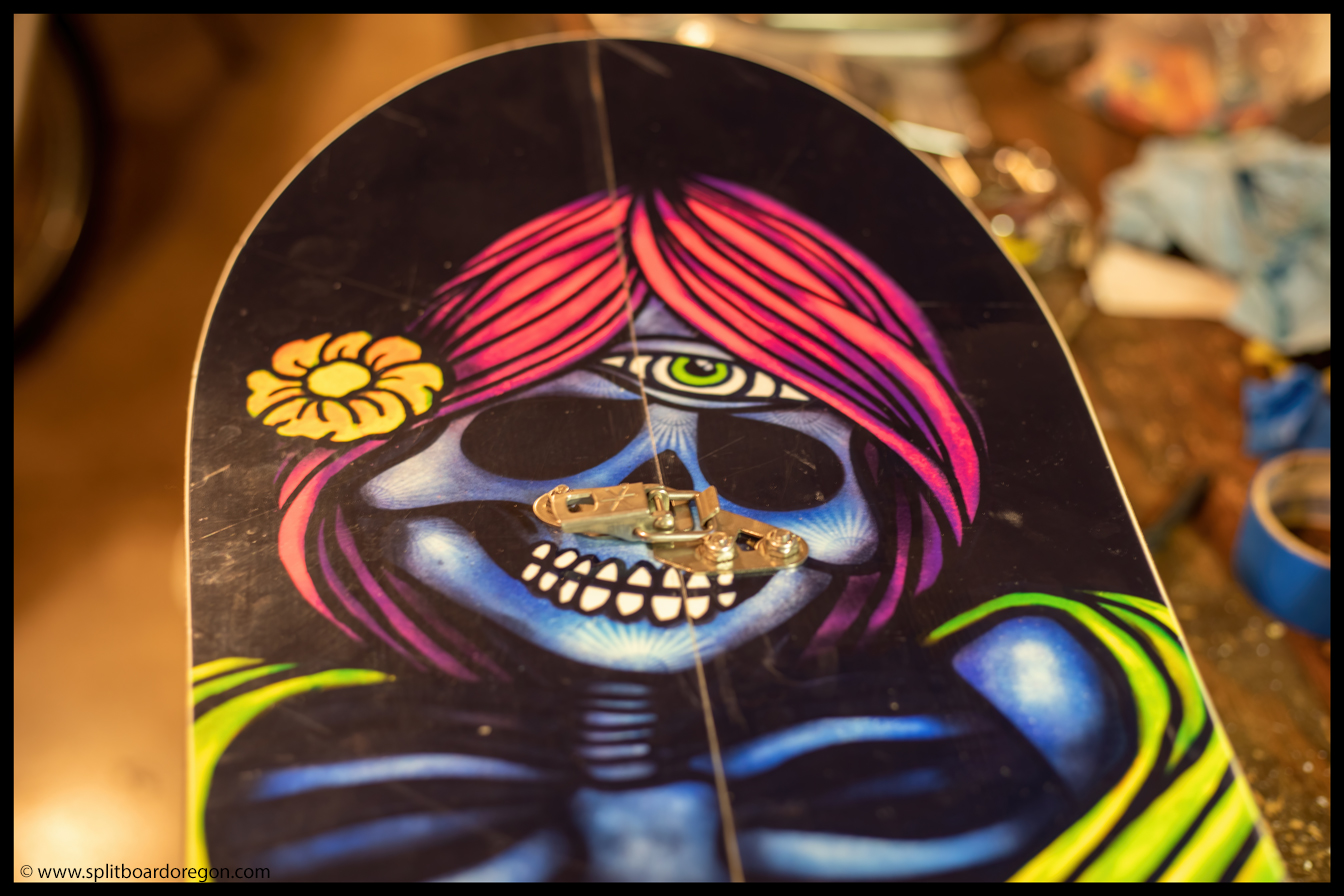
Next up, it was time to drill and install the touring brackets and heel risers. As usual, the first step is to center and tape the Voile templates over the board, after measuring where you need to put them.
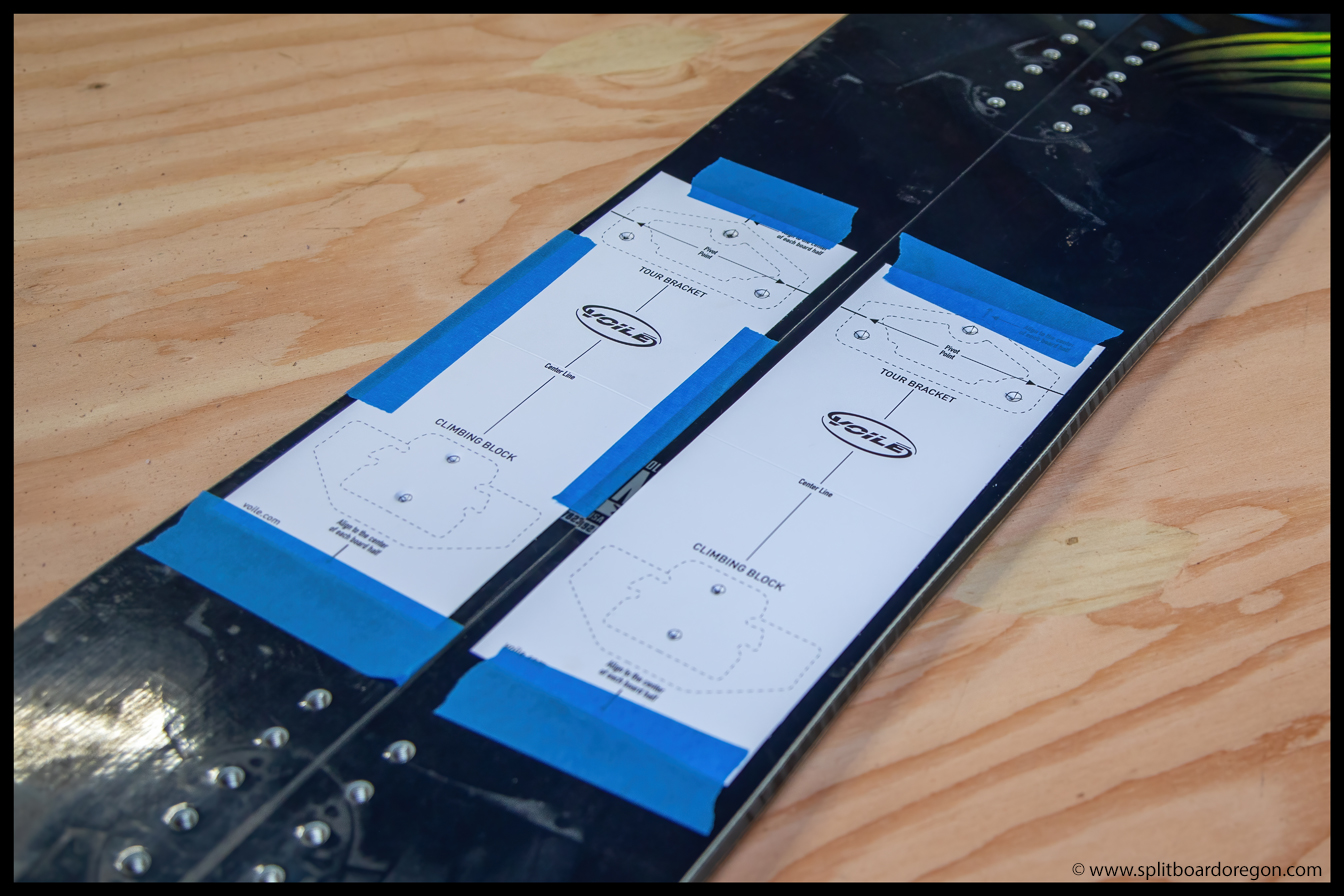
Following the application of the templates, I will center punch the holes and drill through board with the appropriate sized bit for the touring bracket screws and heel lifter screws. The next step is to flip the board over and carefully counter drill the holes for the t-nuts with a paddle bit. Easy does it here, since you have to be extra careful to keep from drilling too deep. I like to drill just deep enough to only barely get into the wood core, so that the t-nuts are just 1/16 of an inch or so below the base of the board when installed. It’s easy to drill too deep if you get too aggressive.
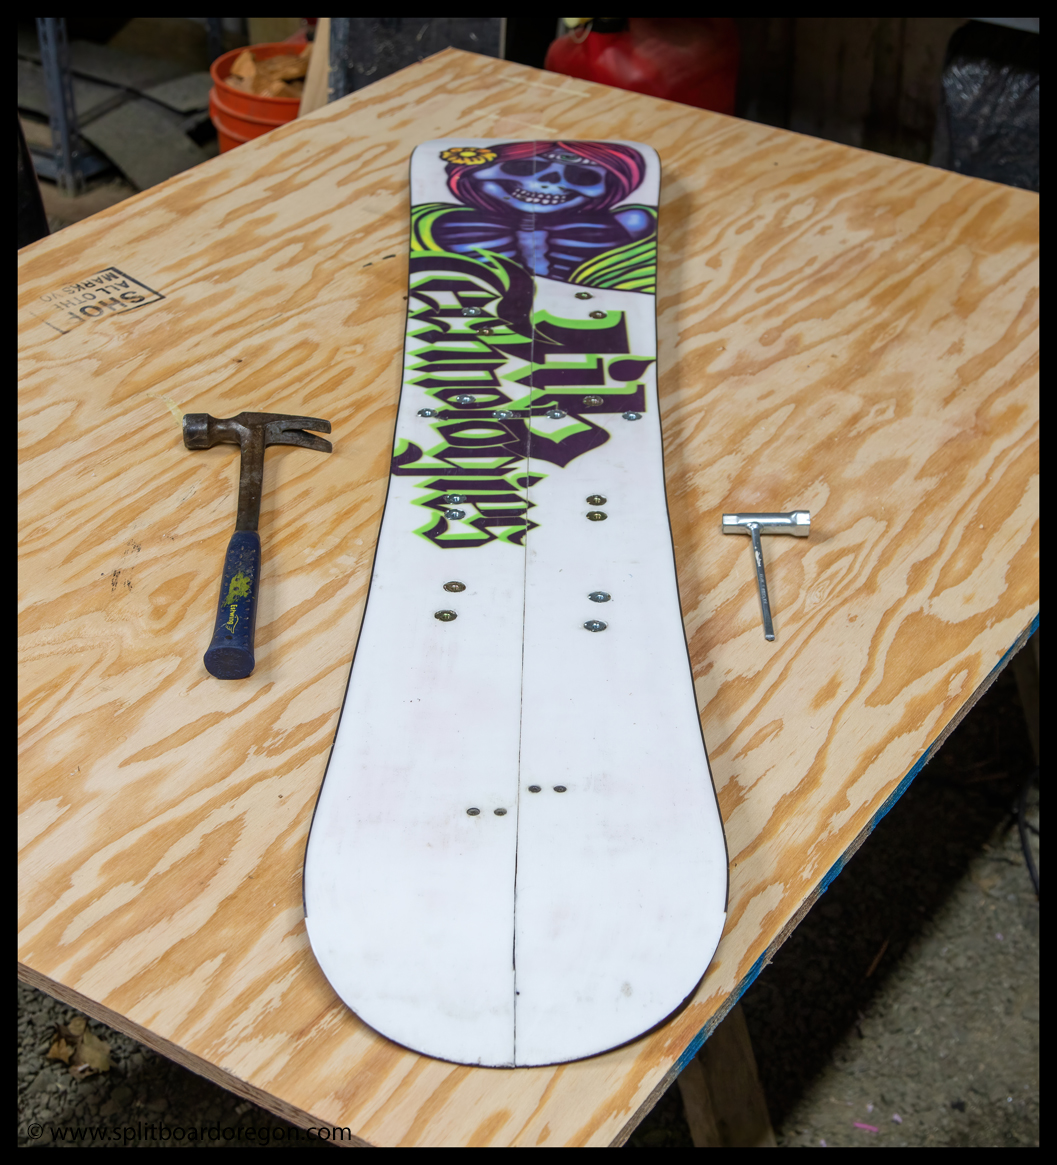
Below are a couple of shots of the t-nuts after installation, along with the epoxy I like to use to fill the holes after installing the t-nuts, as well as to seal the edge along the board cut.


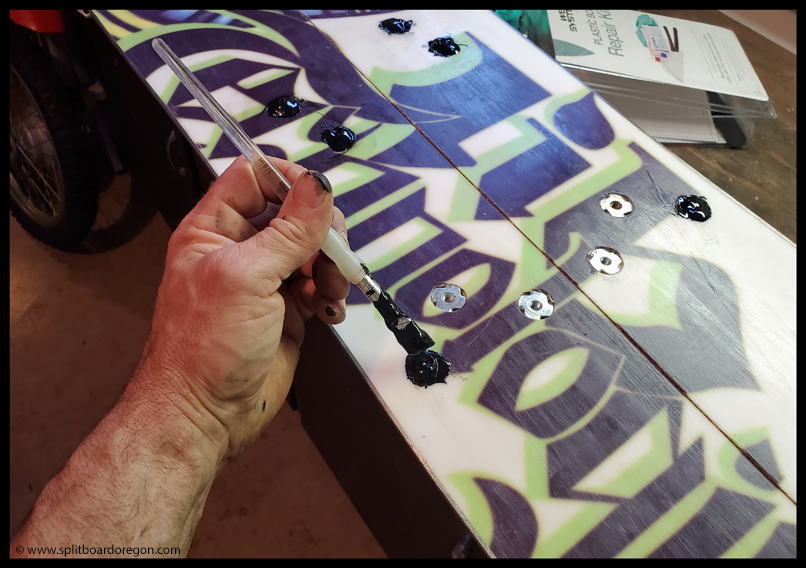
To actually fill the holes, I mix a bit of black pigment into the epoxy when mixing, since I like the look of black holes in the base of the board better than the color of regular epoxy after it dries. A small paint brush usually does the trick to applying the epoxy, and then I come back the next morning and cut/scrape the excess off with a razor blade. Of course it always helps to have a beer or two on hand when doing a project like this, and for this project I was glad to have a tasty Incredible Pulp Blood Orange Pale Ale from Boneyard Beer on hand.

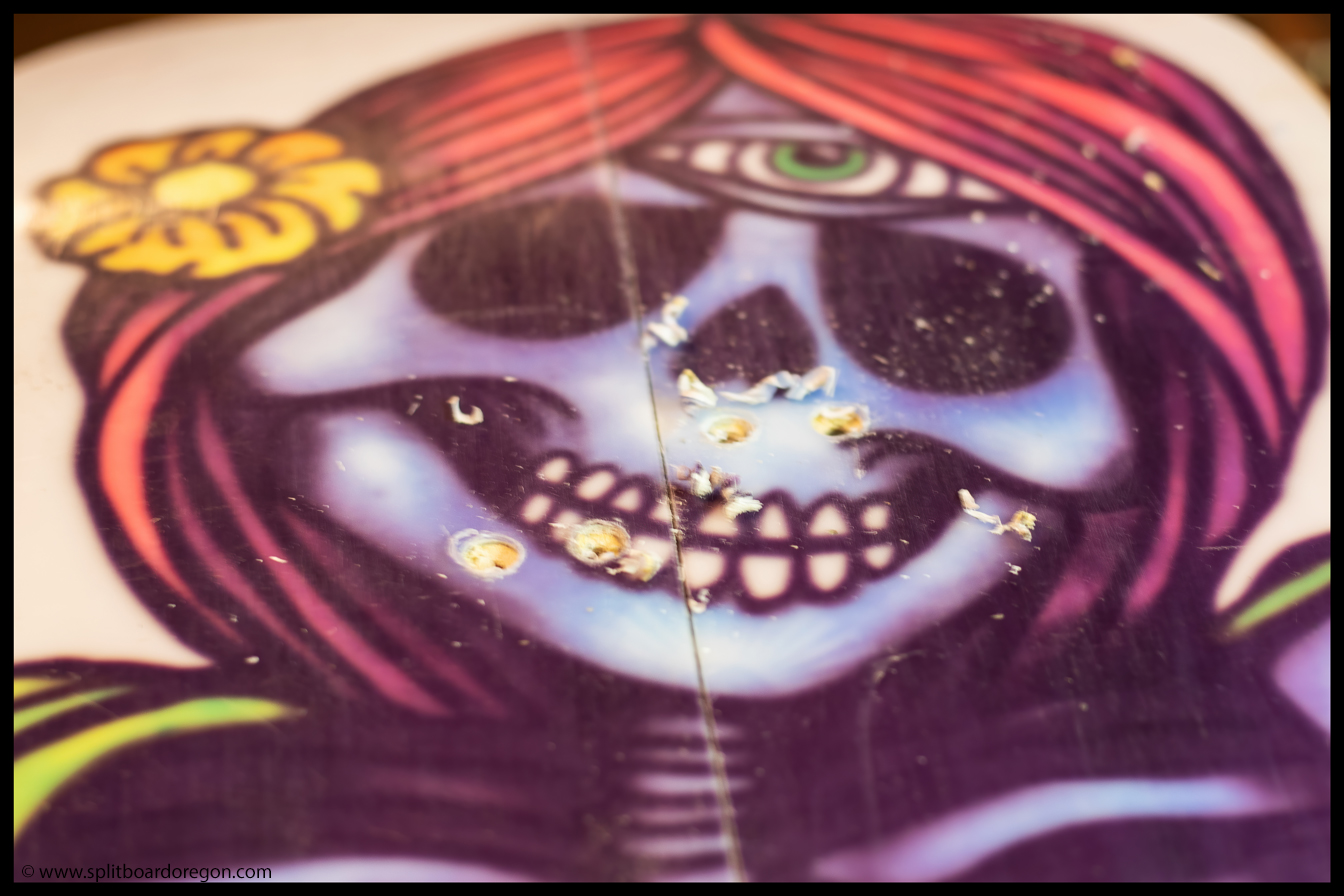
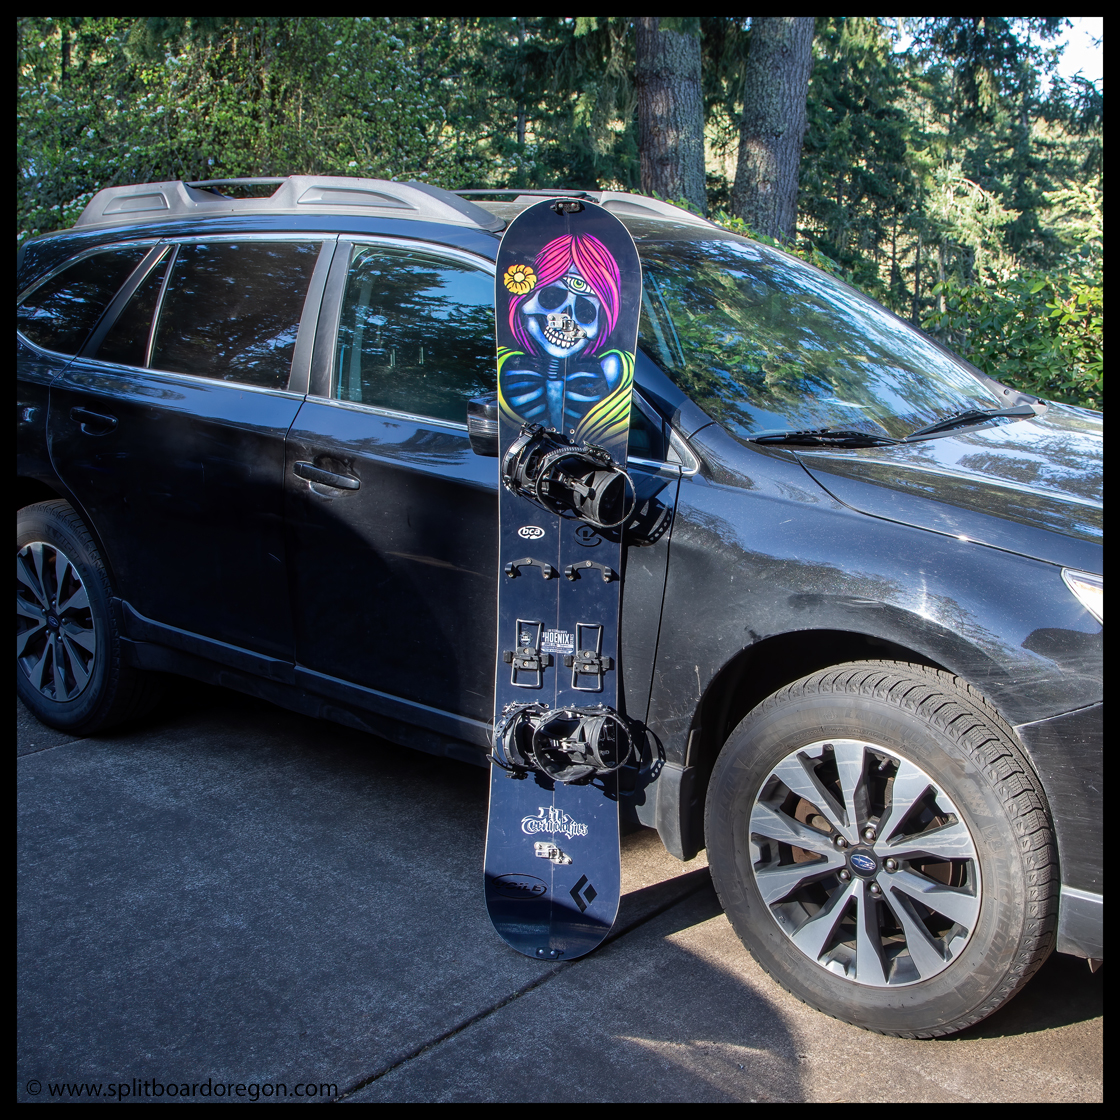
Once the hole were filled with epoxy, I sanded down the epoxy along the cut line of the two board halves, and my new split was ready to ride. Below are a couple of shots of the finished product looking at both the base and top sheet sides of the board.
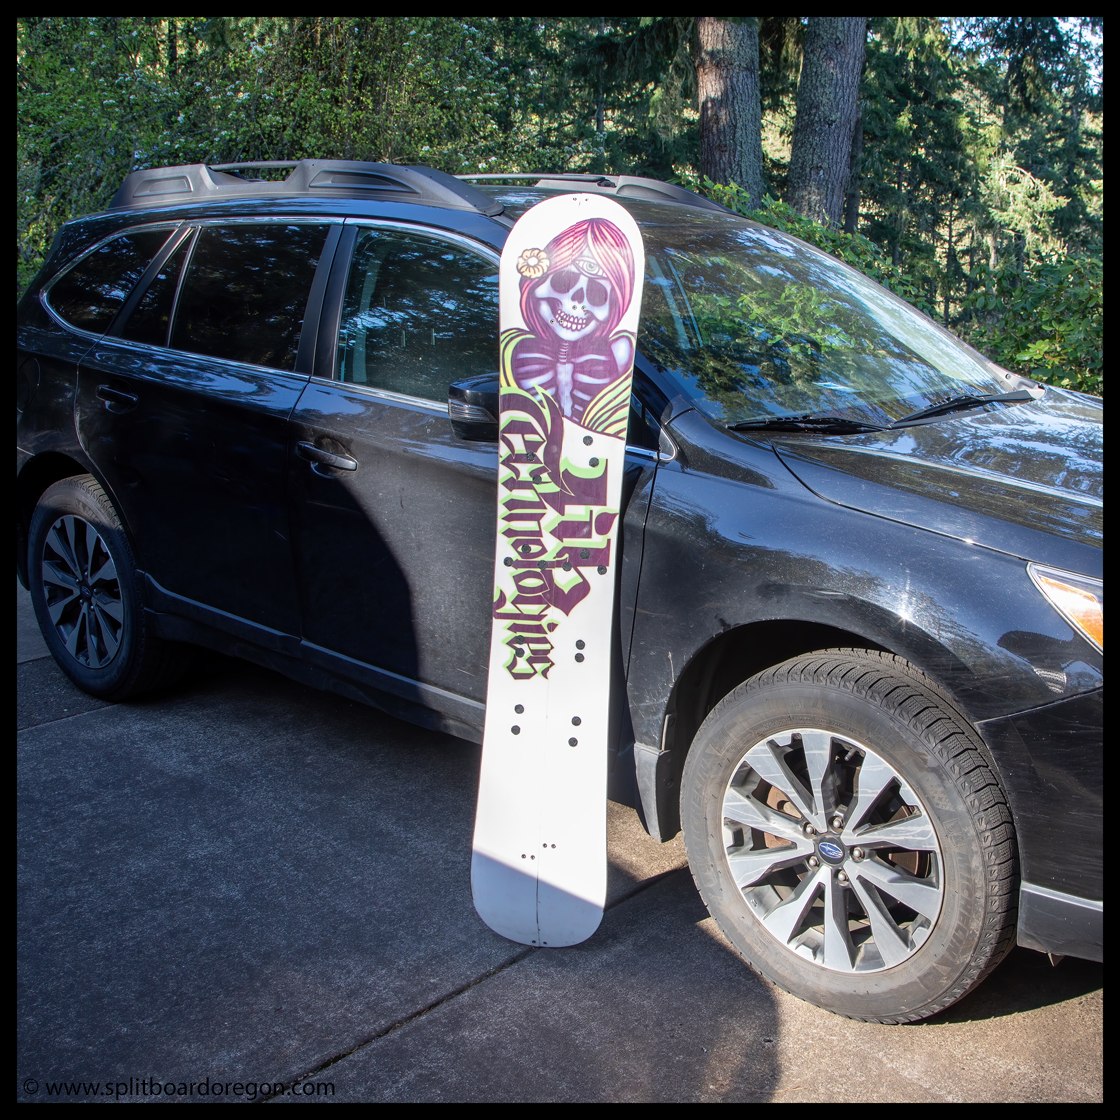
Detailed instructions that I like to consult when creating a new split are the DIY Voile Split Kit instructions, found here. Overall, this was another fun project, and it’s been great getting this split out on snow for both touring and riding the past several months.